NeoCore
by Red Pill Lab
Omni view markerless motion capture system
Installation Process
1. Software Installation


- Click the installation file to begin the NeoCore setup process. Once completed, you can launch the software.
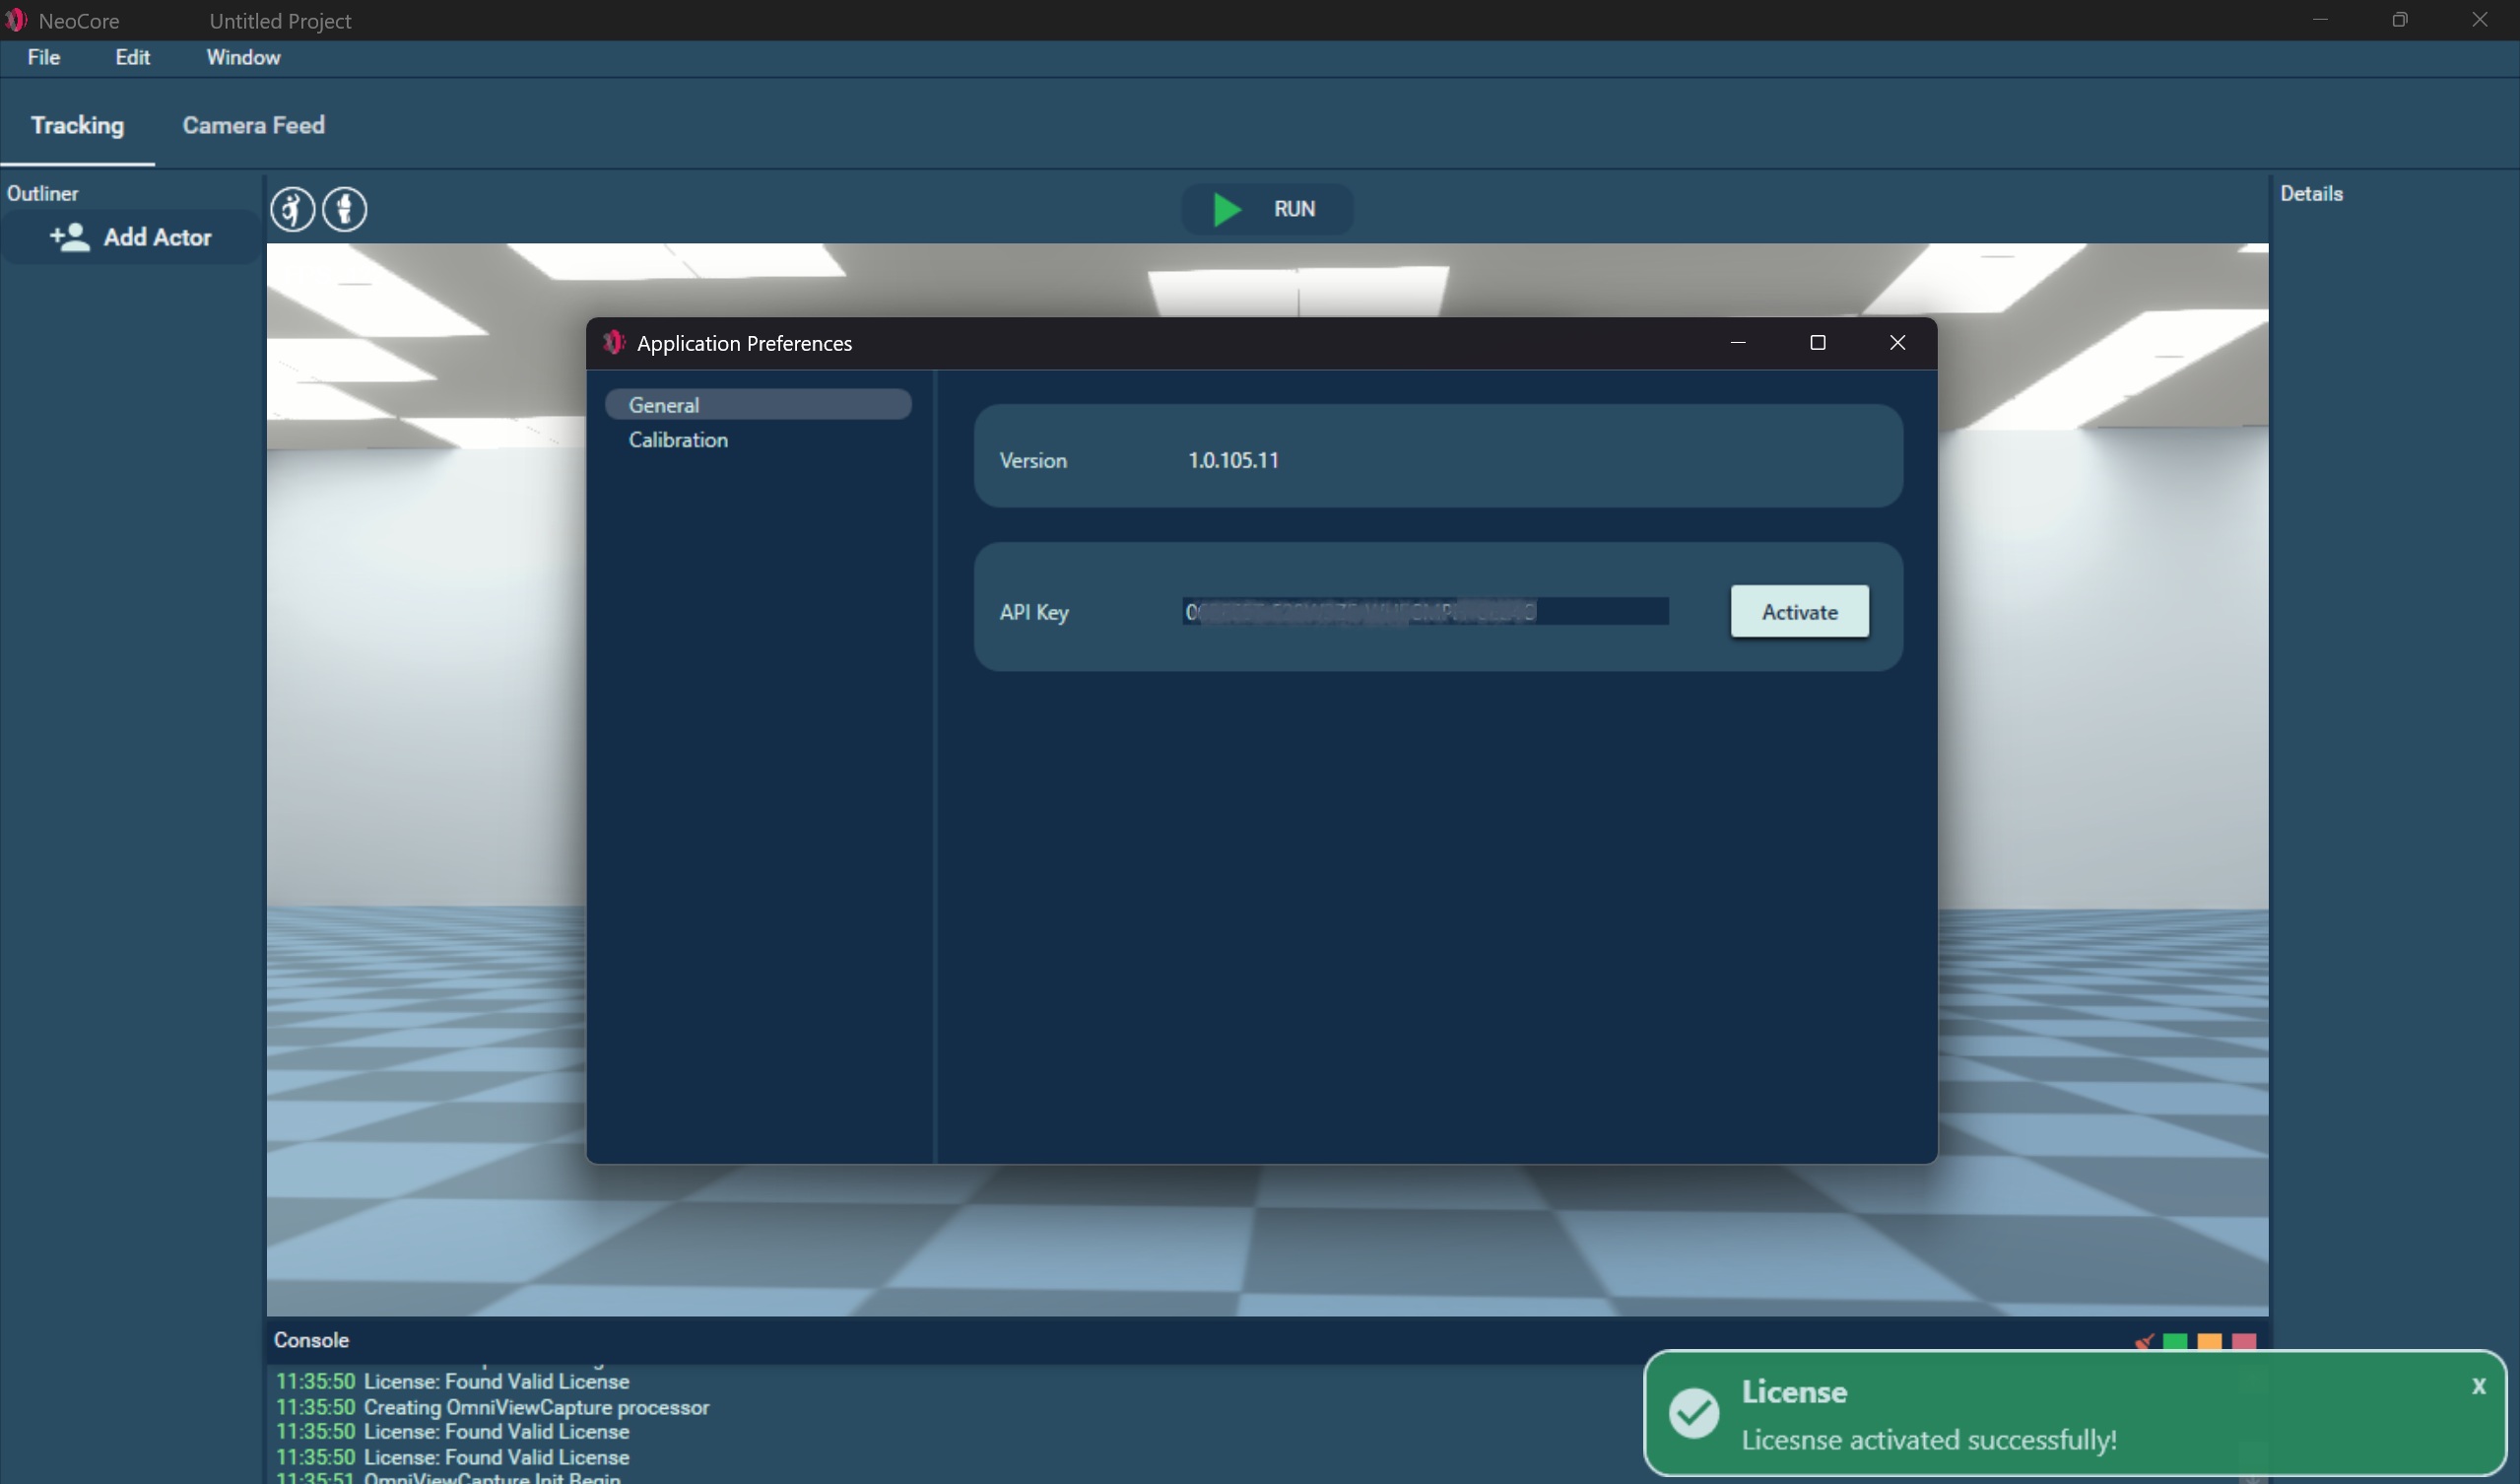
2. Software License Authentication

- Go to Edit > Preferences and enter the software license (API Key).

- After clicking "Connect", the system will verify the license via the cloud platform. Upon success, a registration confirmation will be displayed.
3. GPU Acceleration Fine-Tuning

- During the first-time installation of NeoCore, the system will automatically perform TensorRT-based tuning for Nvidia GPUs to optimize AI functionality.
- This step takes approximately 5–10 minutes and does not need to be repeated afterward.

- Once tuning is complete, the system console will display "OmniView Module Ready" in green text.
Multi-Camera Calibration
1. Add Cameras for Intrinsic Calibration

- Go to Camera Feed, select a new camera, and click "Add Camera".
- NeoCore will automatically detect the default FPS and resolution of the camera.

- Click "Calibrate" to begin intrinsic parameter measurement.

- Use the OmniView A3-sized calibration board. Follow on-screen indicated area to position the board in the camera view one by one.
TIP
First move the board far enough so it fits within the indicated area, then gently shake and rotate it to match the edges. When the top green bar fills completely, one spot is captured.

- After capturing all 12 positions, click "Compute Camera Params" to calculate camera intrinsic parameters.

- Once the computation completes (in a few seconds), return the board and observe how each square's corners are locked by the OmniView.

- In the Calibration Result section next to each calibrated camera, you can copy/paste the parameters.
TIP
If all cameras are of the same brand/model, you can copy the calibration parameters from the first one to speed up the process for others.
2. 3D Alignment of Cameras
Place the calibration markers flat on the floor so that every camera can see at least 3–4 markers.
The marker with ID 0 should be placed at the center of the tracking volume.
Click the 3D target icon to begin the camera alignment process. You can switch to the Tracking tab to check if the camera 3D positions are correct. When you are satisfied with the calibration, press the 3D Align button again to stop the process.
3. Save the Project

- After completing the camera setup steps above, it is recommended to save the project to retain all current parameter settings.
- In future sessions, you may want to open the project directly in NeoCore to start motion capture immediately.
TIP
As long as none of the cameras have been moved, you won’t need to repeat the Diamond Board step again.
Start Using NeoCore
1. Open a Saved Project

- Go to File and open the saved project. The 3D positions of all cameras will be successfully loaded and displayed.
2. Add Actors

- Under the Tracking tab, click "Add Actor" to begin adding the desired number of performers.
3. Start NeoCore AI MoCap

- In the Camera Feed, ensure each camera is aimed toward the center of the capture area and has a clear view of all performers.

- Click the Play button to run multi-person AI motion capture powered by NeoCore.
TIP
Each performer enters in a T-pose to trigger pose matching and then launch NeoCore motion capture.
LiveLink
1. Activate LiveLink

- Obtain an API Key that has the LiveLink feature enabled.
- Go to Edit > Preferences and enter the software license (API Key).
- Enter the key in General / API Key and press Activate.

2. Enable LiveLink Plugin

- Go to Edit > Plugins > Streaming and enable LiveLink
3. Attach LiveLink Component

- Add Actor to the scene or select an existing one
- In the Details panel click on Add Component > LiveLink
- Repeat for each Actor you wish to stream
4. Rename LiveLink Subject

- To give the LiveLink Subject a custom name, rename it in the LiveLink Component in the Details panel.
5. Configure LiveLink Settings

- Go to Edit > Project Settings > Networking > LiveLink
- Here you can change the default Unicast Endpoint and add Static endpoints the format is
IPAddress:Port.
TIP
If you are running NeoCore and Unreal in the same local network without additional routers between them you don't have to change the default settings. You may need to set your network to Private and allow NeoCore and Unreal through Windows Firewall
If you want NeoCore to keep track the various instances of Unreal that it should connect to:
a. Input the target IPv4 into Unreal's Unicast Endpoint field.
b. Add that same value to the list of NeoCore's Static Endpoints.
c. Repeat this for each device running Unreal.
If you want each instance of Unreal to keep track of the instance of NeoCore it should connect to:
a. Input the IPv4 value into NeoCore's Unicast Endpoint field.
b. Add the same value to Unreal's Multicast Endpoint field.
c. Repeat step 2 for each instance of Unreal.
6. Connect LiveLink to Unreal

- In Unreal Engine 5 go to LiveLink > Add Source and choose the NeoCore source you wish to connect. The source name is
NeoCore_PC_NAME

- Each Subject has the name specified in the LiveLink Component in NeoCore and has the UE5 Mannequin skeleton.
- It can be used directly as a Live Link Pose Source in the Mannequin Animation Blueprint.